Code it. Connect it. Control the world (okay… maybe just your classroom lights).
So you’ve installed Windows 10 IoT Core on a Raspberry Pi, and now you’re wondering: What’s next?
Welcome to the world of IoT app development — where code meets sensors, LEDs blink with pride, and students become the tech geniuses their parents already claim they are.
This guide is made just for students (and teachers who think like students) looking to create cool IoT projects using Windows 10 IoT.
First, What Is an IoT App?
An IoT app is like a remote control, brain, and assistant rolled into one. It helps a smart device collect data, react to it, and sometimes… water a plant when you forget to.
With Windows 10 IoT, you’ll build Universal Windows Platform (UWP) apps — these are lightweight, responsive apps built with C# and XAML that run on your Raspberry Pi like magic.
What You Need to Get Started
Before you start coding like a wizard, make sure you’ve got this stuff ready:
Hardware:
- Raspberry Pi 3 or 4 (Windows 10 IoT-compatible)
- MicroSD card with Windows 10 IoT Core installed
- Power supply
- Breadboard, jumper wires, LEDs, sensors (DHT11, PIR, button, etc.)
Software:
- Windows 10 or 11 PC
- Visual Studio 2022 (Community Edition is free!)
- Windows 10 IoT Core Dashboard (already used this during setup)
- Wi-Fi (unless you’re a coding hermit)

Step-by-Step: Build Your First IoT App
Step 1: Set Up Your Project
- Open Visual Studio
- Select Create a new project
- Choose Blank App (Universal Windows) – this is your UWP app
- Name it something cool like “LED Commander 3000”
- Set Target Version to the same one as your Raspberry Pi (usually shows up automatically)
Step 2: Write Some Glorious Code
You’ll use:

- XAML for your app layout (buttons, sliders, text)
- C# for logic (when button clicked, do stuff)
Example: Control an LED
csharp
| GpioController gpio = GpioController.GetDefault(); GpioPin pin = gpio.OpenPin(5); // GPIO5 pin.SetDriveMode(GpioPinDriveMode.Output); pin.Write(GpioPinValue.High); // Turn LED on |
Step 3: Deploy It to Your Pi
- Plug in your Pi and make sure it’s on the same network
- Go to Visual Studio → Device → Choose Remote Machine
- Enter the Pi’s name or IP address
- Click Deploy and wait for it… BOOM! Your app is running on your Raspberry Pi
Fun Project Ideas for Students
Temperature & Humidity Monitor
Use a DHT11 sensor and display readings on your app in real-time.
Motion-Activated Alert System
Use a PIR sensor — if motion is detected, show a warning on-screen or send a notification.
Smart Plant Watering App
Connect a soil moisture sensor and water pump. Create an app that only waters when the plant is “thirsty.”
Custom Dashboard
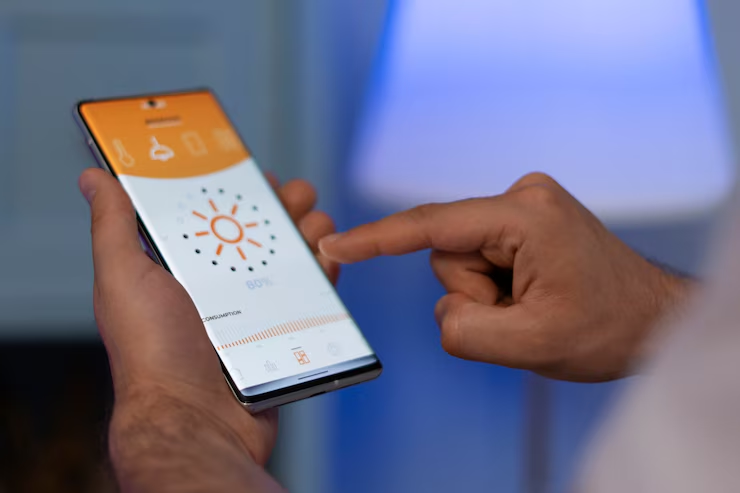
Display data from multiple sensors: light, temperature, sound. Customize it with cool themes (add a “Dark Mode” and feel like a pro).
Real Learning Outcomes
- Understanding GPIO pin control
- Event-driven programming
- Remote device management
- Live data visualization
You’ll also level up your problem-solving skills (a.k.a. Googling error messages until 2 a.m.).
Pro Tips for Student Success
- Start small – Don’t try to build a smart city on Day 1. Blinking an LED is a big win.
- Use online sensor libraries – Don’t reinvent the temperature-sensing wheel.
- Work in pairs or teams – Pair programming isn’t just cool, it saves live (or at least class time).
- Document your code – You’ll thank yourself in three weeks.
Final Thoughts: From Student to IoT Star
Learning to build IoT apps with Windows 10 IoT isn’t just about wires and code. It’s about creating real, physical solutions to real-world problems — with your own two hands (and maybe a sensor or five).
Whether you’re turning on lights, tracking temperature, or building your school’s next science fair MVP, this is your launchpad.
