If you’re just stepping into the world of Raspberry Pi, this project is the perfect place to start. Building a Smart Weather Station is one of the best simple Raspberry Pi projects for students—especially if you’re diving into STEM education with Raspberry Pi. Whether you’re a teacher looking to create a hands-on experience in your Raspberry Pi STEM lab or a student aiming to explore the exciting world of educational Raspberry Pi projects, this one’s a perfect launchpad.
What You’ll Build
You’ll set up a Raspberry Pi to read real-time environmental data like temperature, humidity, and air pressure using sensors. Add wind speed and direction with affordable anemometers and wind vanes. The collected data can be displayed on a web dashboard or stored for later analysis—making this one of the most engaging and educational DIY STEM education projects.
.
You’ll Be Needing

- BMP180 or BMP280 Barometric Pressure Sensor
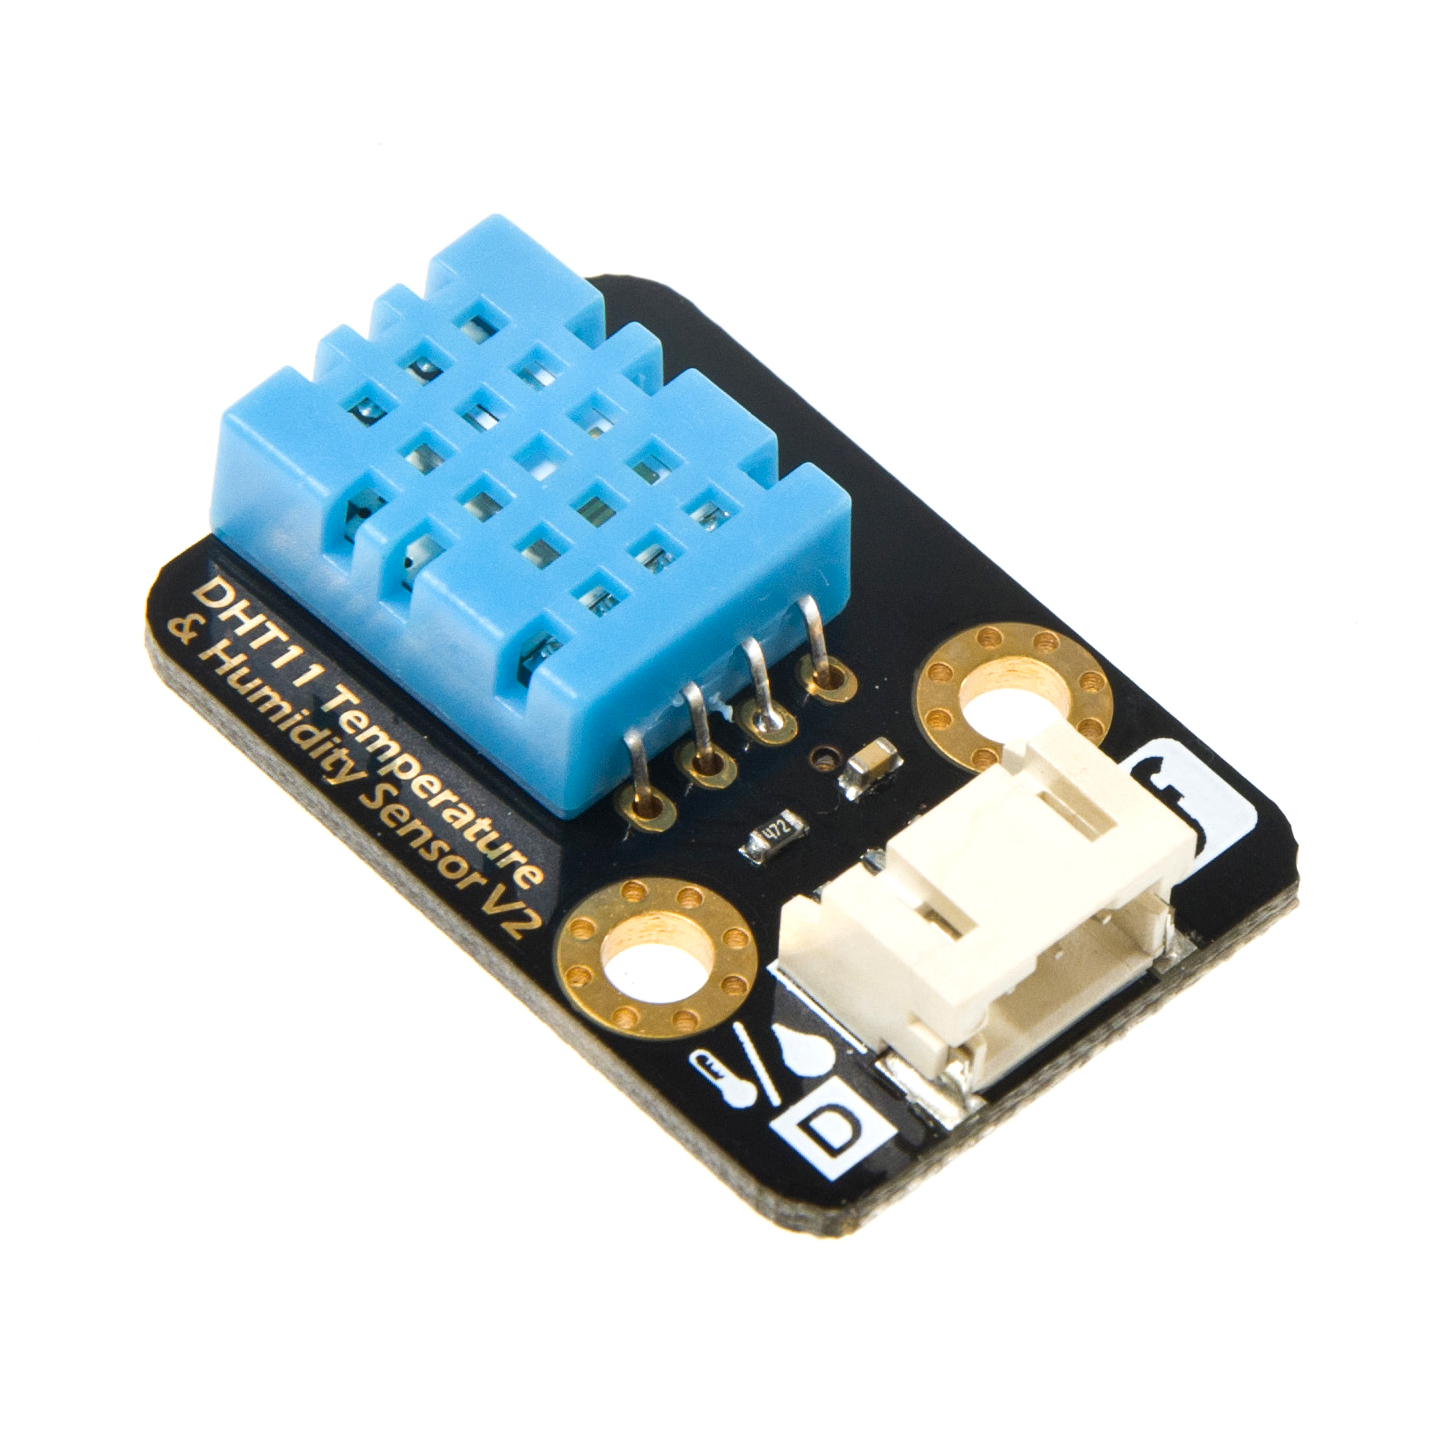
- DHT11/ DHT22 Humidity Sensor
- Raspberry Pi 3 or 4 (with Raspbian OS installed)
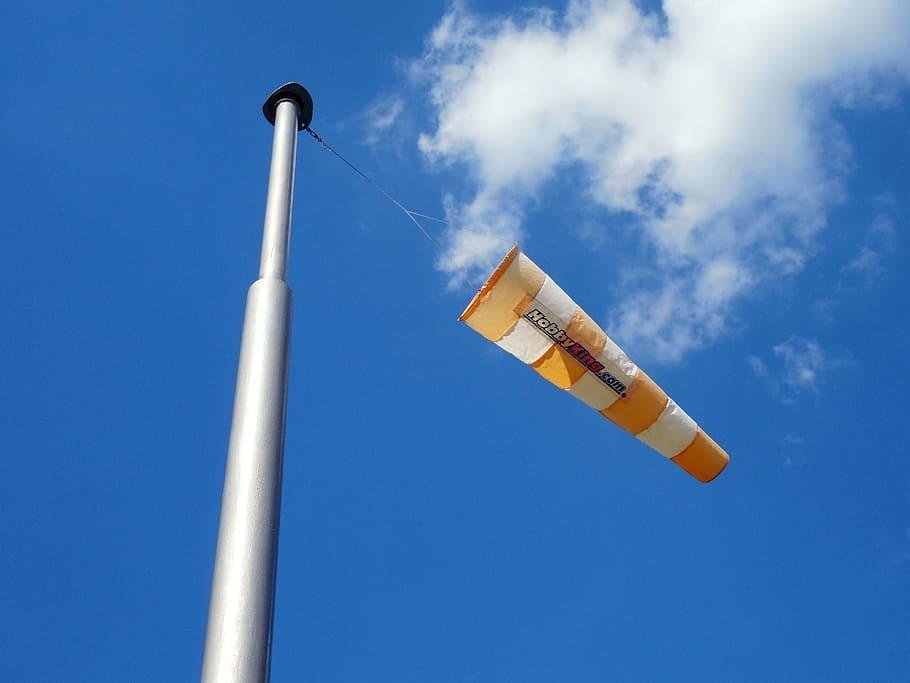
- Wind sensor (anemometer + wind vane, analog or digital)
- Breadboard and Jumper Wires
- 10K Resistor (for DHT sensor)
- Internet connection (for live updates)
- Optional: SD card, USB WiFi adapter, battery pack for portability
Wiring Guide
DHT11/DHT22 (Humidity + Temp):
- VCC to 3.3V on Pi
- GND to Ground
- Data to GPIO4 (Pin 7)
- Pull-up resistor (10K) between VCC and Data
BMP180/BMP280 (Pressure via I2C):
- VCC to 3.3V
- GND to GND
- SDA to SDA (GPIO2 – Pin 3)
- SCL to SCL (GPIO3 – Pin 5)
Wind Sensor:
- Analog wind vane connected to ADC converter (like MCP3008)
- Anemometer pulses to GPIO (for calculating wind speed)
Including wind sensors makes your station more advanced and real-world applicable, bringing your Raspberry Pi for STEM and robotics toolkit to life
Code Setup (Python)
First, enable I2C and SPI on your Raspberry Pi:
| sudo raspi-config |
Go to Interfacing Options > I2C > Enable, and do the same for SPI if you’re using an ADC.
Then install required libraries:
| sudo apt update sudo apt install python3-pip pip3 install Adafruit_DHT smbus2 bmp280 RPi.GPIO spidev |
Example Python Code (basic version):

Make It Smart (Web Dashboard)
Use Flask, Plotly Dash, or Node-RED to build a web-based dashboard. Visualize real-time weather data from your DIY Raspberry Pi STEM lab. This is perfect for creating your own Raspberry Pi learning center in a classroom.

Optional Add-On: Wind Speed + Direction
Integrating wind sensors? Here’s the upgrade:
- Use an anemometer (reed switch type) that pulses when blades spin
- Connect to a GPIO and count pulses per second to calculate wind speed
- Use an ADC like MCP3008 to read analog wind vane position for direction
This makes your station a full-featured mini-meteorological setup
Learning Outcomes
- Hands-on experience with sensors and wiring
- Learn real-world Python coding
- Understand weather systems and data collection
- Build confidence with STEM learning with Raspberry Pi
Expand It Further
- Store data in a CSV or SQLite database for long-term trends
- Add solar power for outdoor mounting
- Set alerts for extreme weather conditions
