Ready to turn your classroom—or bedroom—into an old-school arcade? With a Raspberry Pi and a few components, you can bring back the classics like Pac-Man, Donkey Kong, and Mario Kart in full retro glory. This is one of the most fun, beginner-friendly projects in any Raspberry Pi STEM lab.
Whether you’re a teacher building out your Raspberry Pi learning center or a student diving into coding through gaming, this is where education meets pure nostalgia.
What You’ll Build
You’ll turn a Raspberry Pi into a fully functional retro arcade machine using emulation software like RetroPie. Plug in arcade buttons, connect a screen, and load up games—yes, legally free ones! Bonus: it looks super cool on a desk or in a makerspace.
Perfect for school clubs, project showcases, or home learning environments.
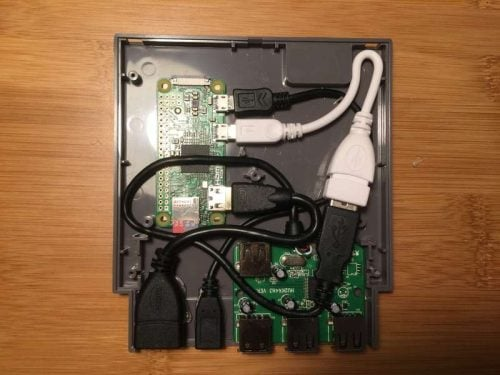
What You’ll Need

- Raspberry Pi 3 or 4 (Pi 4 recommended for better emulation)
- MicroSD card
- HDMI-compatible screen (old monitor or TV)
- USB game controllers or arcade joystick + buttons
- Breadboard (if wiring buttons manually)
- USB keyboard (for initial setup)
- Power supply for Pi
- Optional: Laser-cut or cardboard arcade cabinet
Best Raspberry Pi kits for schools often include everything above.
Step-by-Step Setup
1. Install RetroPie
- Download RetroPie image from retropie.org.uk
- Use Raspberry Pi Imager or balenaEtcher to flash it to your SD card
- Insert into Pi and power on
2. First Boot
- Use a USB keyboard to navigate setup
- Configure Wi-Fi and enable SSH for remote access
- Pair your game controller
3. Add Games (ROMs)
Only download legally free games or use backups of games you own.
- Transfer ROMs via USB, SFTP, or network share (\\retropie\roms)
- Restart EmulationStation to see your games
Wiring Custom Arcade Buttons (Optional)
If you’re building your own arcade controller:
- Use arcade push buttons + joystick (Amazon has full kits)
- Connect to GPIO pins on Pi using jumper wires or USB interface
- Example: Button → GPIO 17, GND → any ground pin
Use libraries like gpiozero or install GPioneer to map buttons to keyboard inputs.
Learning Outcomes
- Get hands-on with Raspberry Pi hardware and OS setup
- Understand file systems, emulation, and GPIO basics
- Build confidence with Linux-based systems
- Explore the history of gaming through tech!
This is a favorite in any tech lab for students, combining electronics, programming, and design.
Classroom Ideas
Here’s how to make this project part of your Raspberry Pi-based STEM curriculum:
- Tech History Lesson: Discuss how gaming evolved over time
- Design Challenge: Build a cardboard or laser-cut arcade cabinet
- Code Challenge: Program your own retro-style game in Python or Scratch
- Art & STEM Fusion: Customize cabinet artwork and button layouts
Perfect for clubs, competitions, or interdisciplinary projects.
Expansion Projects
- Build multiplayer gaming setups using multiple Pi devices
- Add a high-score tracker with Python and SQLite
- Integrate a coin acceptor (for that real arcade feel)
- Create a mini online leaderboard system using Flask
These all push your coding lab setup in schools beyond the usual.
